
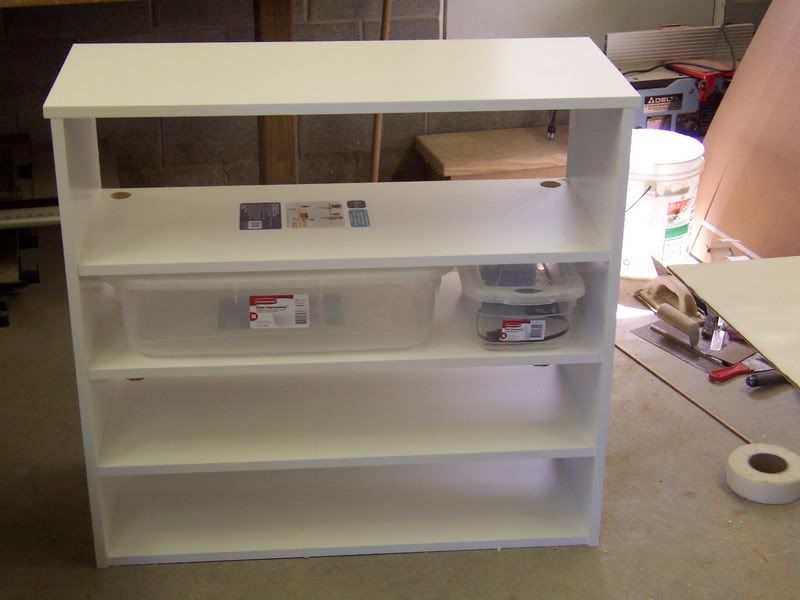
Finally gave a go at this. I've got six new corns coming and needed a place to put them all. This is what I came up with.
This idea started out very small. Then when I got to Lowes to to pick up the materials, the idea grew. So instead of a small system that would be able to house six small corn snakes in six 6.5 quart rubbermaid storage containers, it's able to hold 16.
You could assemble a similar rack to this with VERY little cutting/ripping, as the lengths provided from the factory work out very nicely. Since I wanted to hold the shelves back about 1/4" from the front of the vertical sides (as seen here)
http://img.photobucket.com/albums/v2...1/101B3380.jpg
...I had to trim a bit off here and there. I won't bother to go into specific dimensions for you because quite frankly, I don't really know them. I just kind of went with the flow and figured things out as I went along.
This is a work in progress but here's what I have done so far:
Materials used:
Four 3/4X16X48 white melamine shelving
Four 3/4X16X36 white melamine shelving
One 5/8X10X36 white shelving
One 1/4X4X8 birch plywood
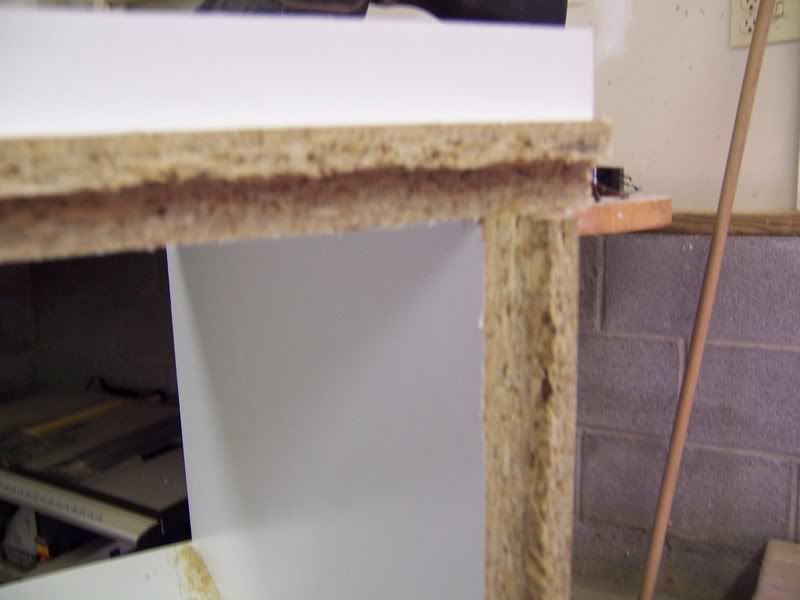
Determine the length of the sides and make a rip about a quarter of an inch down the back edge of one of the sides. Be sure to have the blade set low enough that you don't cut off the entire edge:
Break off the rip with a putty knife and then use the knife to scrape off the rest of the fluff that doesn't break off:
http://img.photobucket.com/albums/v2...1/101_3396.jpg
http://img.photobucket.com/albums/v2...1/101_3397.jpg
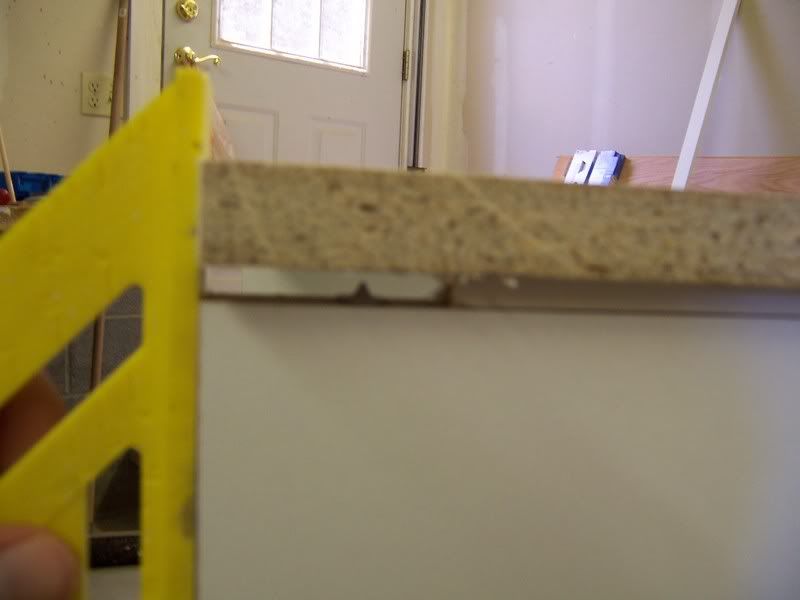
You will need to do this with both sides, and the top; it will give you an edge like this:
http://img.photobucket.com/albums/v2...1/101_3360.jpg
...so that the 1/4" ply wood can sit on the back like this:
http://img.photobucket.com/albums/v2...1/101_3362.jpg
This gives the unit a much nicer finish as you don't have to worry about seeing/painting/finishing or even dealing with the ugly, rough edges of the plywood.
Determine the length and width of the bottom piece and lay it down. Stand one of the sides up next to the bottom and place the storage bin on the bottom piece and use spacers to allow for heat expansion. Place one of the shelves on top of the storage bin to automatically determine where the shelf will be fastened. Screw the side into the bottom piece and then to the first shelf. I used 1 5/8 trim screws.
http://img.photobucket.com/albums/v2...1/101B3370.jpg
http://img.photobucket.com/albums/v2...1/101_3398.jpg
Before you add the shelves, make sure that they are of proper size and they will line up with the back of the groove you cut on the sides.
http://img.photobucket.com/albums/v2...1/101_3363.jpg
Repeat this process with the other side. http://img.photobucket.com/albums/v2...1/101_3390.jpg
I drilled a 1 and a half inch hole on each side of each shelf before adding the next shelf. This is for the heating tape/wires etc. http://img.photobucket.com/albums/v2...1/101_3391.jpg
Continue this process with each shelf:
http://img.photobucket.com/albums/v2...1/101_3392.jpg
Once you have all the shelves fastened, determine the length and width of your top piece. Since I didn't want to ruin the tops finish by screwing down into the vertical sides, I used dowel rods and glue.
http://img.photobucket.com/albums/v2...1/101_3399.jpg
Use dowel center plugs to line up the holes on the vertical sides and the holes on the bottom of the top piece being careful to line up exactly where you want the top piece to lay.
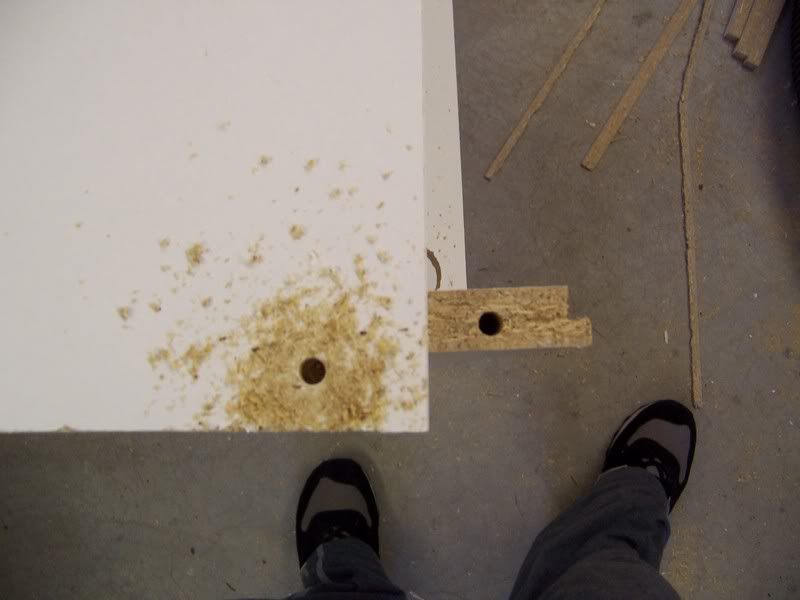
Whoopsies, drilled too far!! :awcrap:
http://img.photobucket.com/albums/v2...1/101_3404.jpg
A little putty will fix that right up. :nyah:
http://img.photobucket.com/albums/v2...1/101_3416.jpg
Glue the dowels and top piece, fasten the top to the vertical sides and clamp:
http://img.photobucket.com/albums/v2...1/101_3406.jpg
http://img.photobucket.com/albums/v2...1/101_3405.jpg
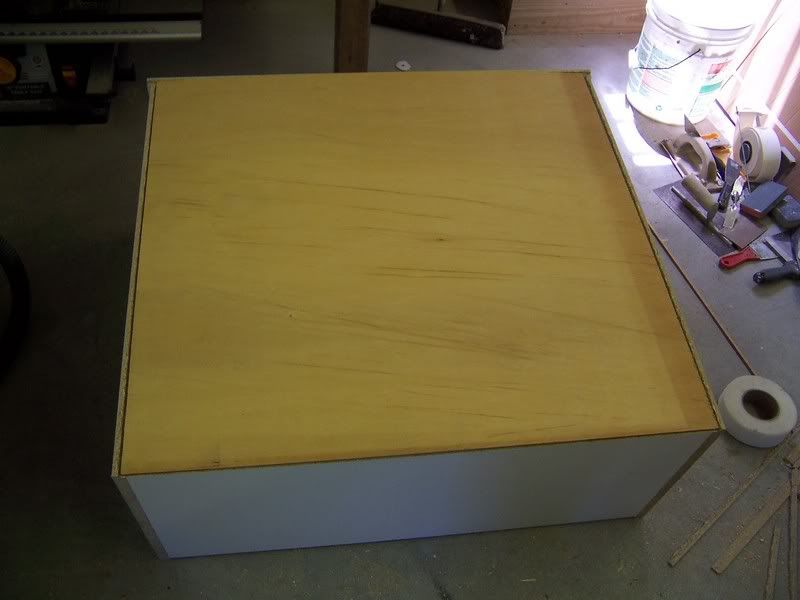
The groove on the top for the 1/4 plywood should line up nicely the the grove on the sides:
Cut the plywood to fit the back:
See now nicely it fits and that the rough edges of the plywood are covered by the nice, smooth finish of the melamine shelves.
http://img.photobucket.com/albums/v2...1/101_3410.jpg
Results 1 to 10 of 20
Thread: My first DIY rack system
Threaded View
-
08-19-2007, 04:06 PM #1"First shed In Progress"


- Join Date
- Aug 2007
- Posts
- 76

My first DIY rack system


 Reply With Quote
Similar Threads
-
Rack
By Zephyr in forum The Garter Snake LoungeReplies: 27Last Post: 01-27-2009, 05:26 PM -
Rack System...
By jewel-dragons in forum General TalkReplies: 8Last Post: 05-23-2008, 10:41 PM -
New Rack
By Elliot in forum General TalkReplies: 17Last Post: 01-04-2008, 03:25 AM -
Bioactive Substrate System
By GGarter in forum EnclosuresReplies: 0Last Post: 08-19-2007, 08:44 PM -
new rack
By drache in forum EnclosuresReplies: 5Last Post: 07-09-2007, 04:27 PM
 Posting Permissions
|
|
|